How I built a Self Flying Drone to track People in under 50 lines of code
Giving a drone the ability to autonomously follow you using deep learning-based computer vision techniques like object detection and depth prediction.
Drones are becoming increasingly popular to their versatility and amazing imaging technology; From delivery to photography, a lot can be done with these flying devices. They are dexterous in the air and can be piloted with a remote controller, and can reach great heights and distances. All these features made drones a great device for photographers and video-makers. Many drones come with an attached camera, such as an action camera, that allows the drone to shoot pictures and videos from incredible perspectives.
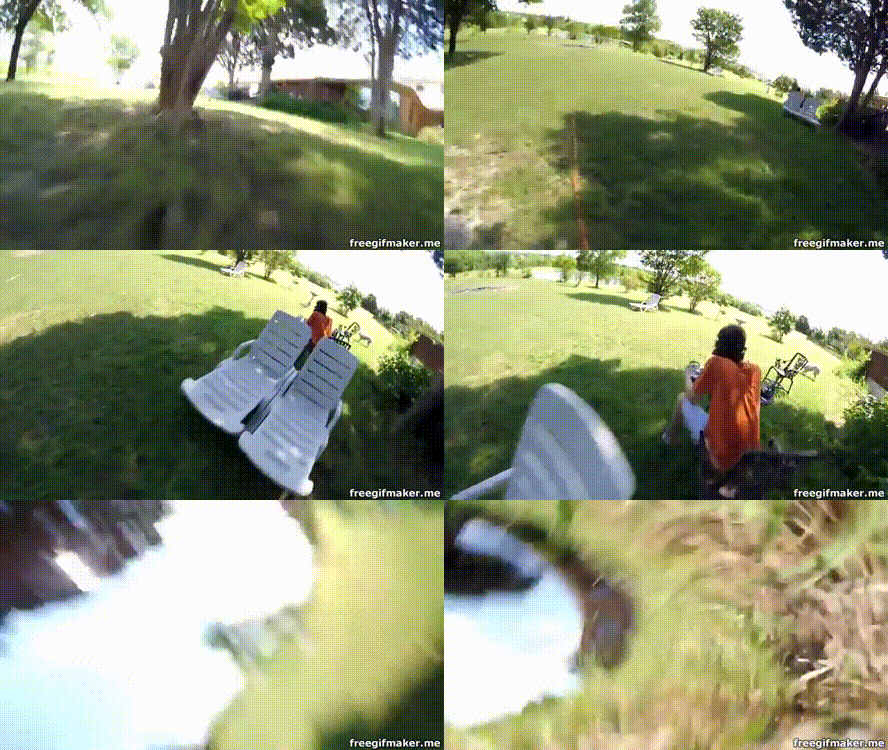
However, there are some drawbacks: flying a drone can be quite hard.Even with recent software control techniques, you must be careful while piloting a drone, since losing control of it or crashing it into a building may break it, with a loss of thousands of dollars. Inexperienced pilots find it hard to fly drones and occasionally leads to hilarious outcomes!
Autonomous/Self Flying Drones
That’s why a lot of effort has been put recently into an autonomous drone. An autonomous drone can fly by itself, without the need of a remote control, in some intelligent way: by following a person or an object of interest, for example, and also avoid obstacles. Imagine how could it be if you could go for a run, or go skiing, skating, swimming, and the drone would follow you, like a pet, filming all your adventures.
The Process involved in creating a Self Flying Drone
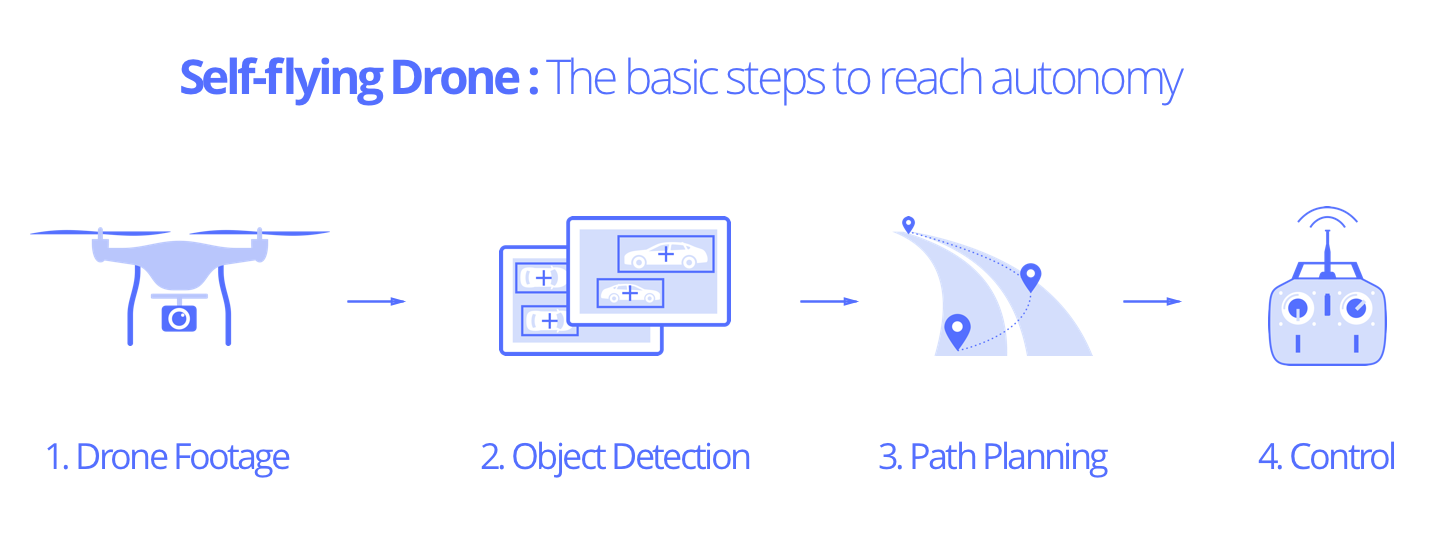
Creating a completely autonomous drone is a quite hard task, involving a series of problems in the field of:
- control theory (to control the propellers)
- robotics (to design the drone and its hardware)
- planning (to decide which path to follow)
- vision and perception (to understand the environment)
In this post, we are going to focus on object detection, using the recent breakthroughs of deep learning. I will show how to implement a simple version of person detection and following using an object detection model inTensorFlow and the Nanonets Machine Learning API
Step1: Drone Footage
As a first step, we need to get some drone footage. You have two options, get your own footage from a drone or use an existing dataset.
- Here you can find a guide to selecting a drone:
2) You can find drone footage you can use here:
Step 2: Object Detection
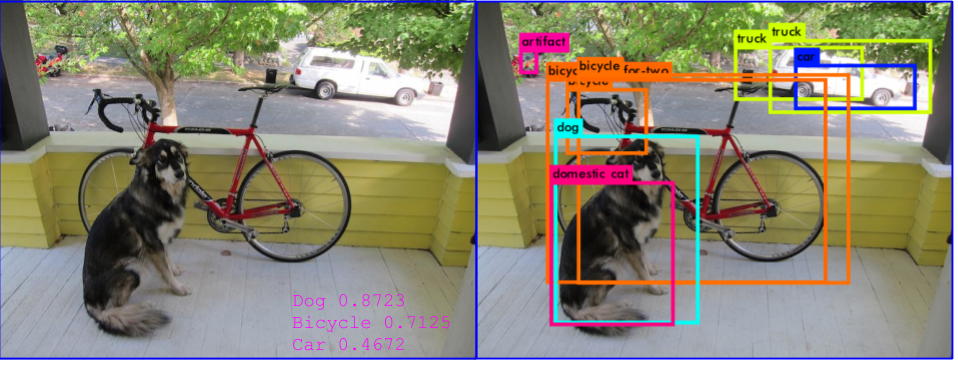
Object detection is a famous task in computer vision that consists in finding inside an image some particular objects. Basically, given an image, we want our algorithm to compute bounding boxes, using pixels as coordinates, of where it believes there are some objects of interest, such as dogs, trees, cars, and so on. This has been a quite hard task for several decades until the breakthroughs of deep learning have increased exponentially the performance of these models. Nowadays, a neural network is the way to go in most of the computer vision related tasks.
We are going to use the two approaches:
- TensorFlow Object Detection ModelThis is available on their GitHub. We will use the SSD MobileNet v1model.
- Nanonets Machine Learning APIThis is available at nanonets.com/object-detection-api. This is significantly easier to use than tensorflow and requires less time and code.
The theory behind these models has grown significantly in the recent years, with many new models being proposed in the scientific literature. But, for this post, we are going to hide this complexity behind very easy APIs that can be integrated seamlessly on many projects.
In the downloaded repository, you can find a Jupyter Notebook showing the various steps to achieve object detection. We will see how to perform person detection and then person following with this code.
TensorFlow Object Detection Model
Below, we have broken down the full Tensorflow code into blocks for ease of understanding.
A) Download the TensorFlow Model
This part of the code downloads the model that you selected (through MODEL_NAME).
B) Build TensorFlow Graph and Variables:Now we can create a class that actually builds the network by downloading the model and storing it in a Tensorflow graph, which can be used to perform predictions. We will create different class variables linked to Tensorflow variables inside the graph. This allows us to access both input and output variables of the Tensorflow model using friendly python variables. You may notice that we have also defined a function for drawing rectangles on images. This will be used later on.
C) Define the Prediction Method.:Now, we add a new method to our class to do predictions. This method takes an image, feeds it into the input of our TensorFlow model, and evaluates the output variables by creating a TensorFlow Session. The object detection model has a number of useful output variables: the model outputs bounding boxes for all the objects it believes it has found in an image, and other than that, it outputs detection classes (i.e. what is the object, indexed from 1 to 90) and even its detection score, that encodes how confident it is that a certain object is actually present.
This is important because, as you will see, many objects have a very low score, and are indeed wrong. We can set a threshold that specifies which is the score level that we trust to be correct. Our threshold is rather low, only 0.5, because we are dealing with images of people giving their back to the camera, running, and being in quite noisy ambients. For visualizing bounding boxes, we use drawing functions from the Python Imaging Library (PIL) to draw rectangles directly on our image.
One important thing that we can see is that the bounding boxes coordinates are normalized between 0 and 1 as a float. This clearly cannot be directly converted into a pixel, but we can multiply our image width and height for this number, then casting it into an integer, to actually obtain the bounding boxes expressed as pixels in our image.
D) Run Prediction on Test Images
Now, we are going to select the images that we want to process. Clearly, on a drone, it would be a real-time process, where images go from a camera directly into memory and then processed by the program. In our case, to show some realistic examples, I took some screenshots of videos depicting people jogging or simply moving in front of a drone that is following them. I loaded them into a folder and used glob library to select all the paths. After this, I create an instance of our Prediction class and use it to perform detection on the images.
NanoNets Machine Learning API
Using NanoNets API, we can do prediction in only 2 steps:
A) Get your free API Key.
Get an API Key from http://app.nanonets.com/user/api_key. Note that you will need to sign up with your email address. Now, add your newly generated API key to the current terminal session with the following command:
export NANONETS_API_KEY=replace_your_api_key
B) Prediction
Copy the following code into a file “prediction.py”.
prediction.py:
import requests, os, sys
from PIL import Image, ImageDraw
model_id = "aea81d42-4839-46f7-b0bc-900bf6f4fc36"
api_key = os.environ.get('NANONETS_API_KEY')
image_path = sys.argv[1]
url = 'https://app.nanonets.com/api/v2/ObjectDetection/Model/'
url += model_id + '/LabelFile/'
data = {'file': open(image_path, 'rb'),'modelId': ('', model_id)}
response = requests.post(url, auth=requests.auth.HTTPBasicAuth(api_key, ''), files=data)
result = response.json()["result"][0]
im = Image.open(image_path)
draw = ImageDraw.Draw(im)
for b in result["prediction"]:
  box = (b["xmin"],b["ymin"],b["xmax"],b["ymax"])
  draw.rectangle(box, fill=None, outline=128)
im.show()
print(response.text)
You can run the file “prediction.py” on any test image fed as a command line argument. We have uploaded some sample images for you here.
python prediction.py path_to_image.jpg
The output gives you the location of the bounding box in json format, and a confidence score between 0 and 1 which represents how sure the model is about the object’s existence. In addition, the program creates a new image file (‘result.jpg’) with the bounding box, so you can visually assess the performance of your model.
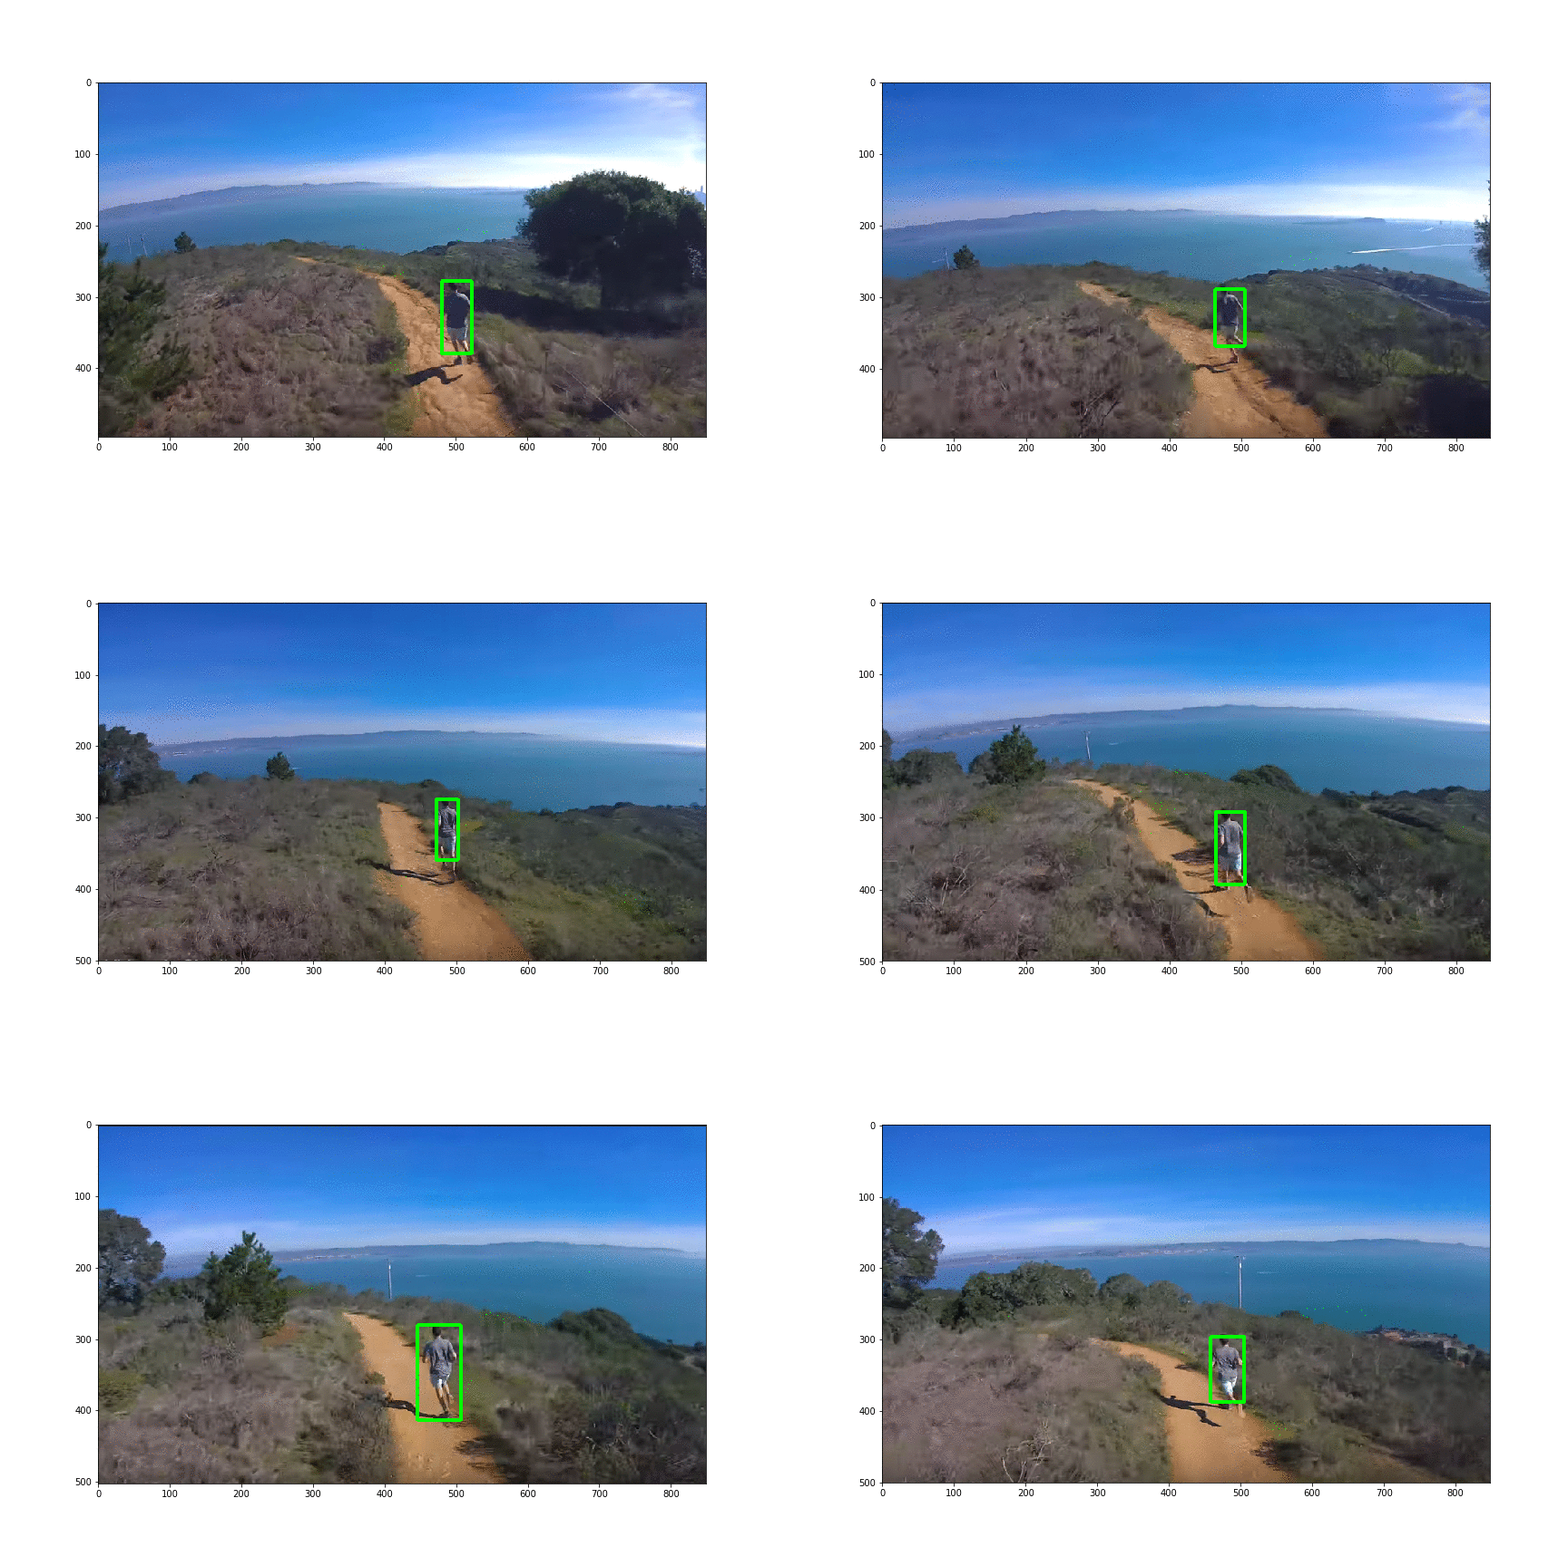
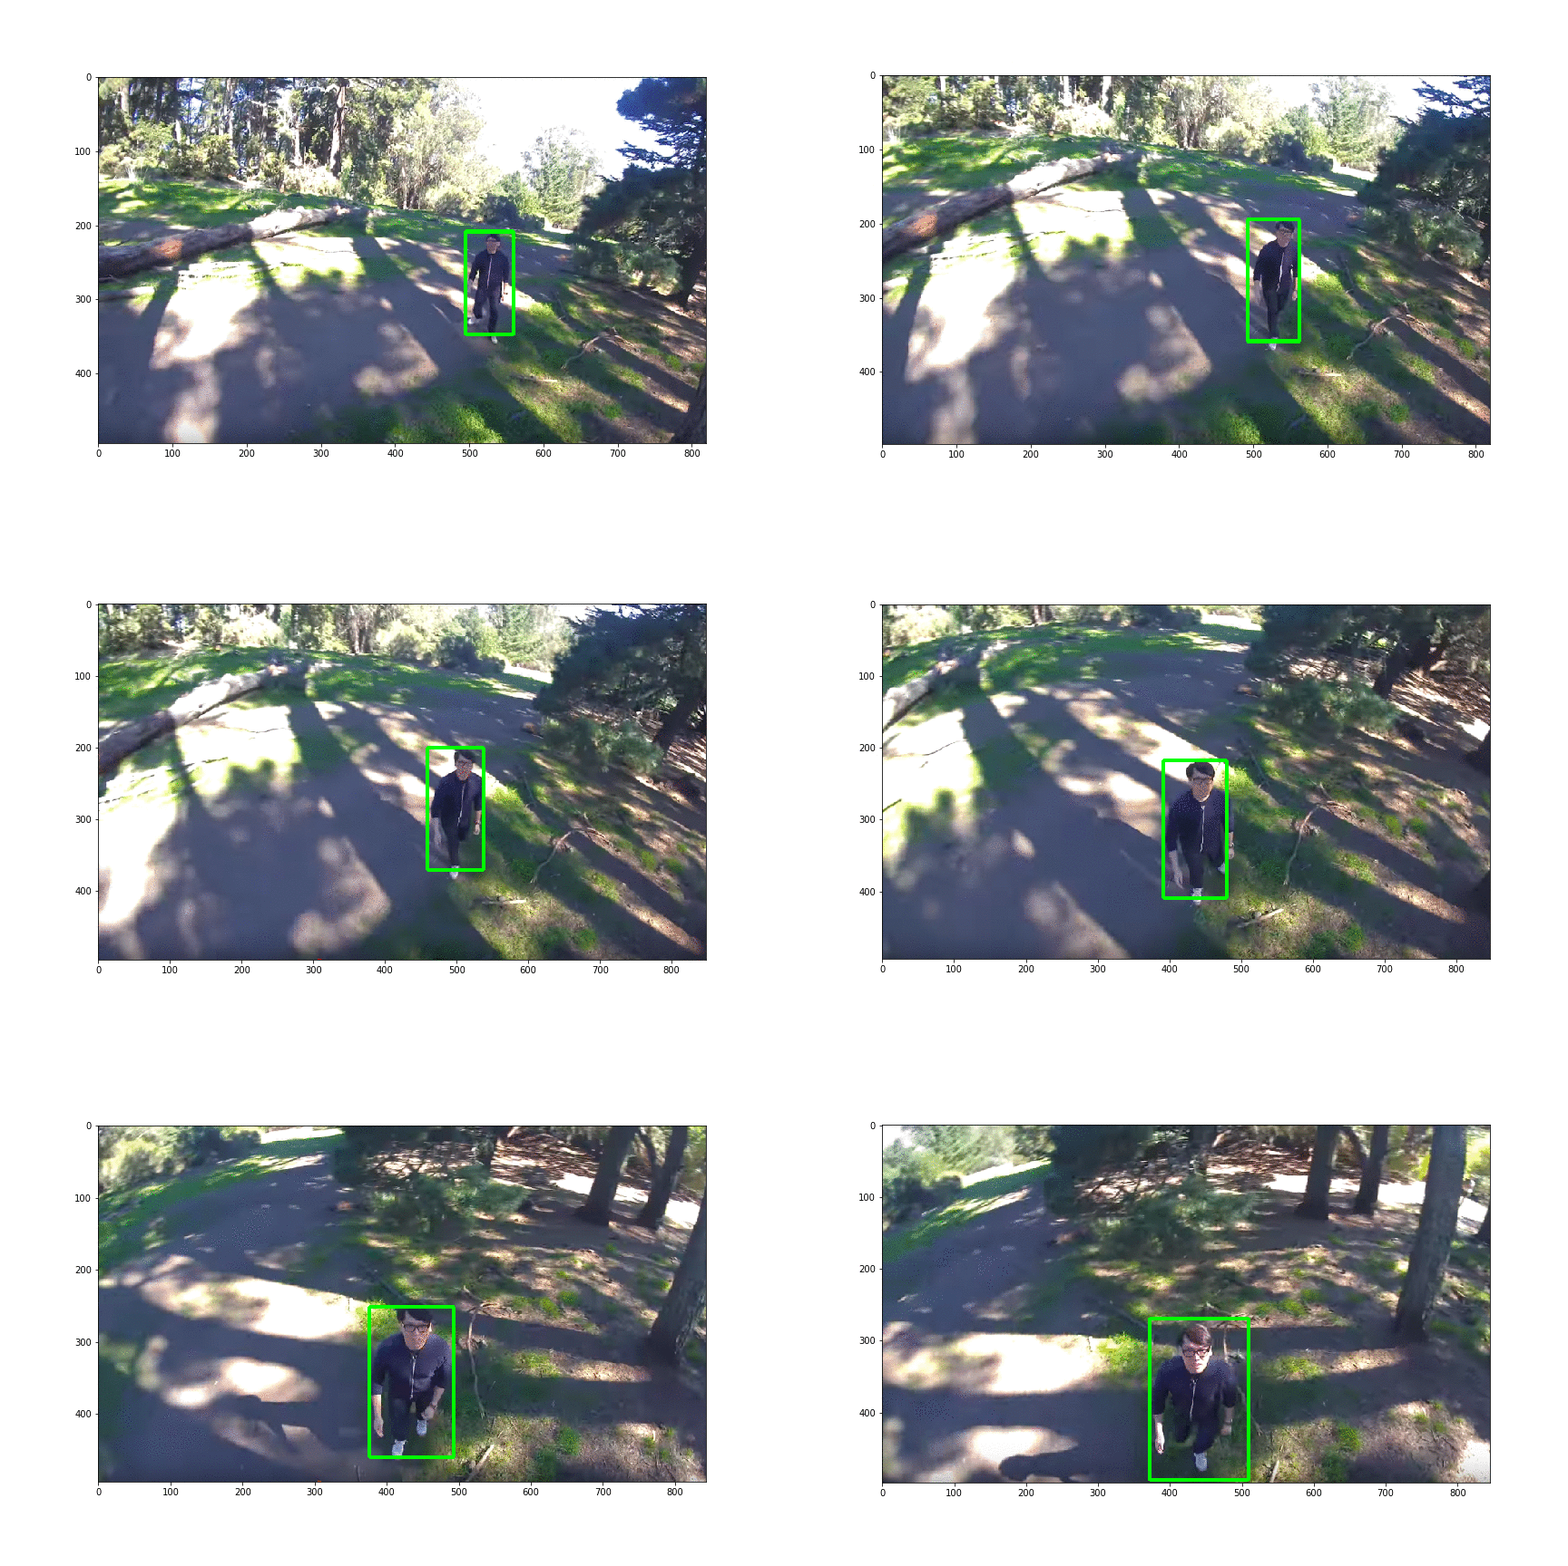
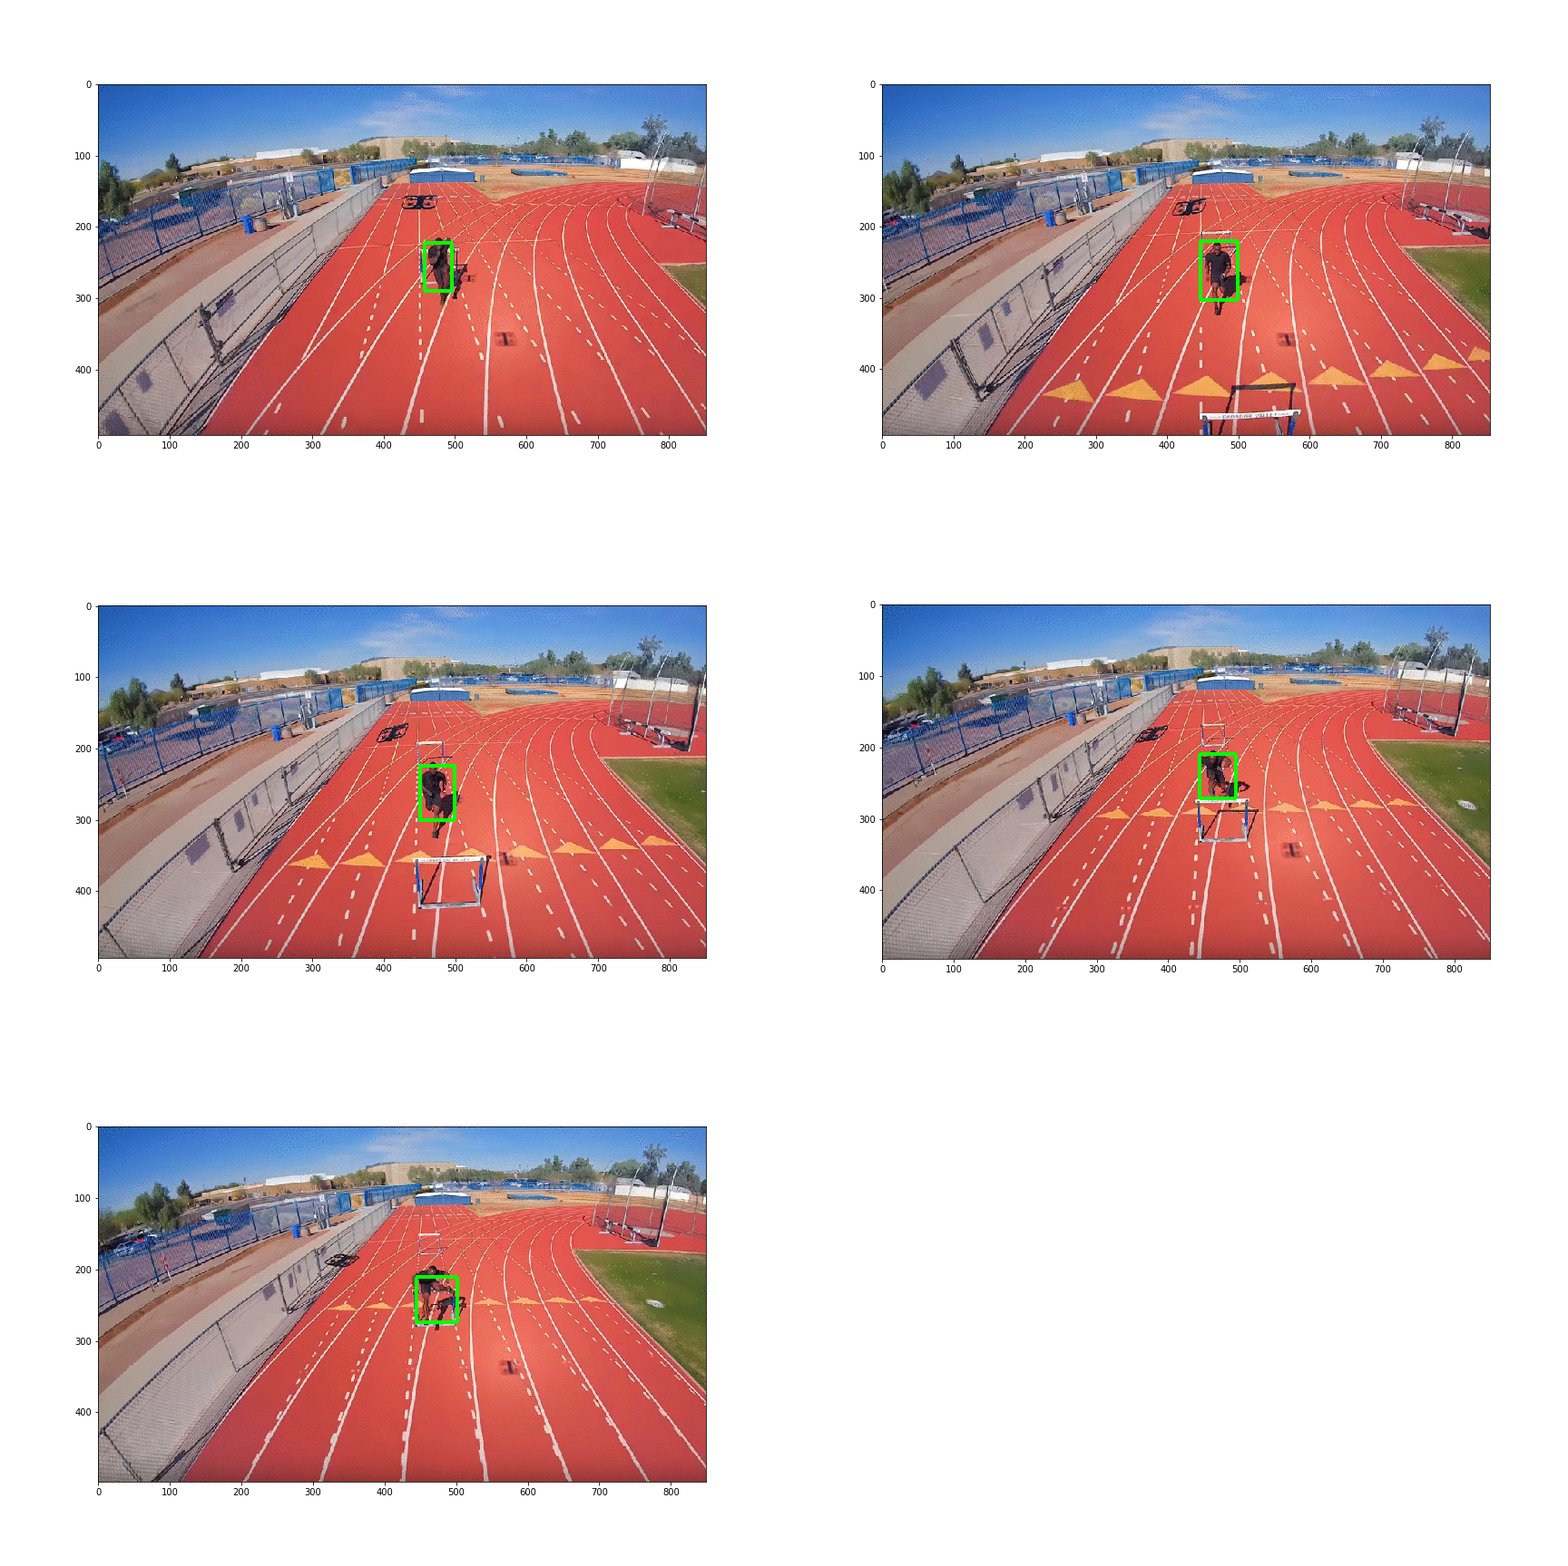
The results that we obtain are remarkable. Here you can see how some live action scenes were processed by this network.
Section 3: Person Following / Path Planning
Being able to detect people is cool, but not enough, clearly, to perform person following. What can we do now that we have bounding boxes? Given this information, we can actually send high-level commands to our drone in order to follow the detected person.
To really detect the person in space, we would need also a depth prediction, but that can be hard to obtain, so we can try to use some tricks with our bounding boxes information. Once the drone has detected a person, it basically has 4 numbers describing the box: its top-left corner (x1,y1) and its bottom-right corner (x2,y2). Given those, we can also easily compute the center of the rectangle and also its area. To compute the area, we only need to compute the width as (x2-x1) and the height as (y2-y1) and multiply them. As for the center, it is computed simply as (x2+x1)/2 and (y2+y1)/2. Why is this information useful? The center of the rectangle can tell us if the person is centered in the picture or if it is on the right or left side. With this information, we can send an instruction to the drone of turning to the left or to the right, with respect to its vertical axis, in order to bring the person in the center of the shot. Equally, we can command the drone to go up or down if the person is detected to be in the upper part of the image. The area of the rectangle can give us a rough information of how close the person is. A bigger rectangle means that the person is very close, while a tiny rectangle indicates that the person is far away. Based on this information, we can move the drone ahead or backward in order to bring it to the desired distance to the person. Here I show some pseudocode.
def compute_drone_action((x1,y1), (x2,y2)):
  #define the possible turning and moving action as strings
  turning = ""
  moving = ""
  raise = ""
area, center = compute_area_and_center((x1,y1), (x2, y2))
  #obtain a x center between 0.0 and 1.0
  normalized_center[x] = center[x] / image.width
  #obtain a y center between 0.0 and 1.0
  normalized_center[y] = center[y] / image.width
  if normalized_center[x] > 0.6 :
     turning = "turn_right"
  elif normalized_center[x] < 0.4 :
     turning = "turn_left"
  if normalized_center[y] > 0.6 :
    raise = "upwards"
  elif normalized_center[y] < 0.4 :
    raise = "downwards"
  #if the area is too big move backwards
  if area > 100 :
    moving = "backwards"
  elif area < 80 :
    moving = "ahead"
return turning, moving, raise
In the following GIF you can see how this pseudocode would work after detecting a person: based on the position and area of the bounding box, the drone moves accordingly in order to bring the person at a predefined distance and at the center of the shot.
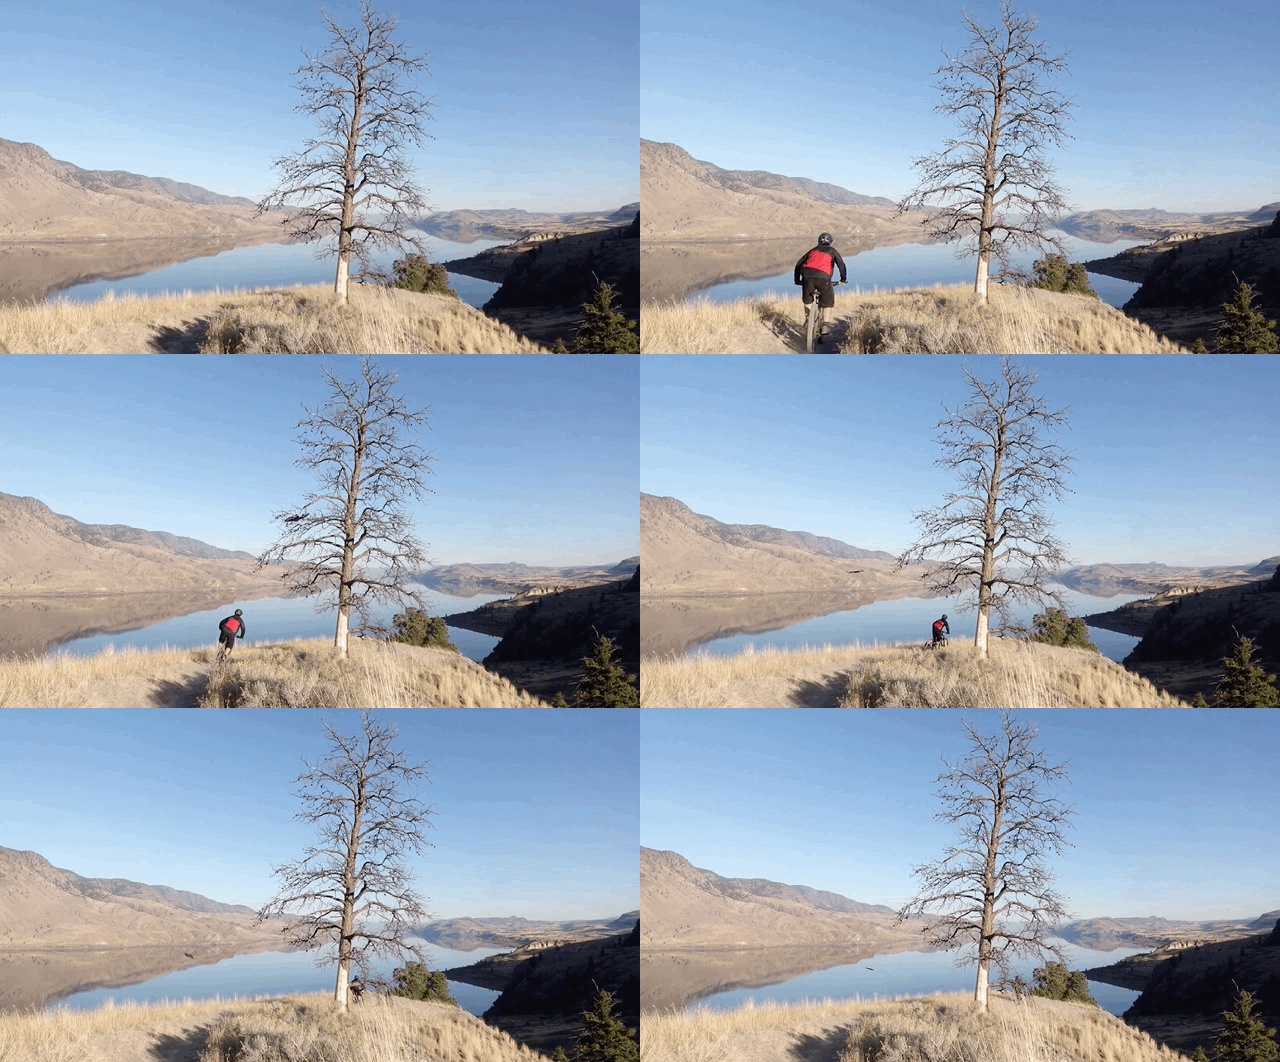
This method also works for recording sports scenes: in the following example, a man is recorded while running. When the algorithm detects that the person is coming closer, due to the bounding box enlarging, it can decide to move backward in order to keep the person at the same predefined distance.
Training your own Model — What if I want to track a car or a boat?
All of this sounds simple when we are using a fully trained model. But what if the model’s performance does not meet our expectations or you want to track a different object? We would like to have some way of training the model with new images. After all, isn’t that the whole point of machine learning?
Turns out, training is a much harder task than prediction.
Training a new model has several challenges:
1. Computationally intensive: Training can take a long time and huge processing power, often requiring days of processing on GPUs.
2. Annotations: Annotating a dataset means marking the positions of all objects of interest in training images, by specifying their bounding boxes. This is usually a labor-intensive task.
3. Training from scratch: Training any object detection model from scratch requires a massive amount of data, typically in the order of 10,000–100,000 images. This not only increases processing power, computation time and annotation requirements, but simply obtaining such a large dataset can be difficult.
4. Model Selection: Selecting the right model is tough, there are a variety of different models like YOLO, SSD, Resnet etc which differ in performance depending on the task
5. HyperParameter Tuning: Selecting the right parameters as equally as important as selecting the right model. There are 100s of hyperparameters like number of layers, epochs, dropout and learning rate amongst others.
Training a Model with Nanonets
This is where NanoNets comes in. NanoNets provides solutions to mitigate all of the above challenges:
- Cloud computing power: NanoNets uses Amazon Web Services (AWS) at the backend, which means all the intensive computation is performed on high-powered clusters, with dozens of CPUs and GPUs.
- Professional Annotators: NanoNets has a team of expert annotators who will annotate your images at $0.2 per image. If you prefer to do the annotations yourself it supports both XML and JSON formats.
- Pretrained Models: Nanonets uses Transfer Learning. Their object detection models are pre-trained on a large number of different images of animals, people, vehicles, etc. Thus their Neural Network is already adept at figuring out most objects, and only needs a small amount of further training for the particular classification task e.g. to distinguish between cars and trucks, or between cats and dogs.
- User-friendly API: The API is designed to be easy to use even if you are not an expert in machine learning.
No comments:
Post a Comment